Veneer Treatment Planning: What Is Your Patient Saying Yes To?
Your patient is ready to consider veneers. But are you both picturing the same result?
That’s a key challenge in veneer treatment planning.
You can discuss tooth shape, shade, and proportions. But before you prep, your patient needs a clear idea of the smile you’re planning together.
With Dentlink, that conversation starts with a moving smile preview, continues with a mock-up the patient can approve, and ends with handcrafted veneers based on the approved design.
Show it. Try it. Seat it.
One designated master, from the first photo to the final veneer.
Explore Dentlink’s Premium Veneer Workflow →
1. Show It. Let Patients See Their Smile Before Prep.
Explaining a new smile isn’t always easy.
Patients may know they want a change, but it’s harder to picture how different tooth shapes, proportions, or shades will look on their own face.
Before-and-after photographs can help, but they’re still someone else’s smile.
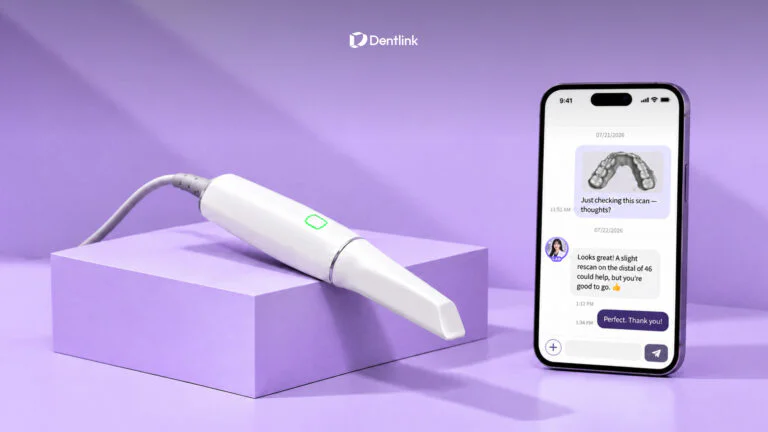
With Dentlink’s Insta Smile Vision (ISV), patients can watch a video preview of their own proposed smile in motion.
Here’s what you send:
- An intraoral scan
- A smile photo
- The patient’s smile goals
Dentlink creates an AI-generated video preview that patients can watch during their cosmetic consultation.
Instead of describing every possible change, you have something specific to show and discuss.
The preview helps patients explore their preferences before proceeding with treatment planning.
And the Smile Preview is free on every case.
Note: The AI preview is a visualization tool, not a guarantee of the final clinical result. Individual results may vary.
See how Insta Smile Vision works →
2. Try It. Let Patients Approve the Design Before Prep.
Seeing a proposed smile on screen is the first step.
Next comes turning that idea into a restorative design.
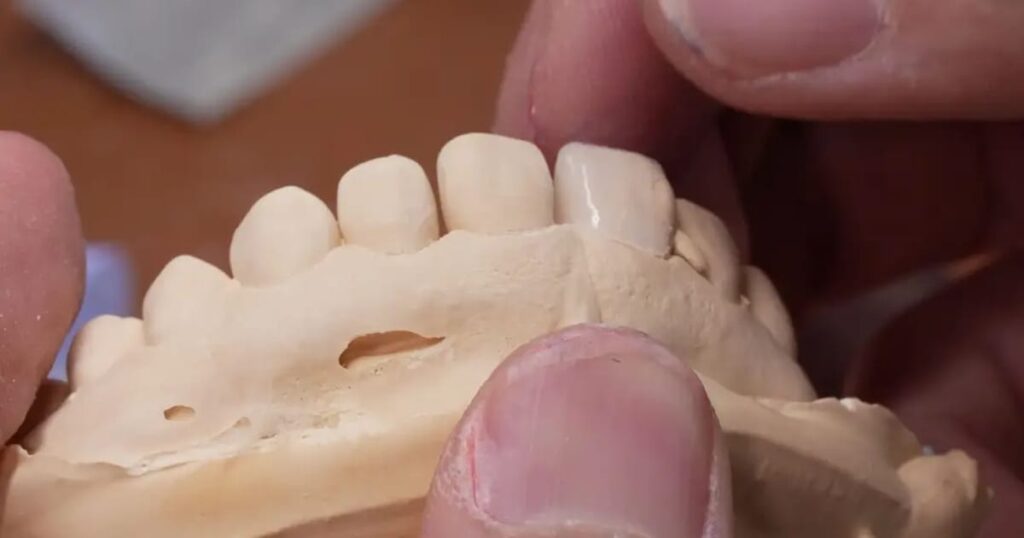
A Dentlink master develops a diagnostic wax-up based on the patient’s records, facial features, smile line, and treatment goals.
The dentist can then use a mock-up to let the patient try the proposed smile before tooth preparation.
This is where patients can evaluate the details.
- Does the tooth length look right?
- Are the proportions what they expected?
- Would they prefer a different shape?
- Is there anything they want to change?
The patient can review the mock-up with the dentist and approve the design before proceeding.
Once approved, the wax-up becomes the reference for the preparation guide and temporaries.
The smile they approved becomes the plan for the next step.
Explore Dentlink’s Diagnostic Wax-Up →
3. Seat It. Veneers Made to the Approved Design.
Once the patient has approved the mock-up, the case moves to final fabrication.
But the work doesn’t start from scratch.
The approved design guides the final veneers.
At Dentlink, one designated master ceramist takes responsibility for each Premium Veneer case, connecting the initial records, design, and final fabrication.
Depending on the clinical requirements, the veneers may be made from E.max or feldspathic porcelain.
E.max Veneers
Pressed from lithium disilicate and characterized by hand, E.max provides strength alongside esthetic potential.
Dentlink’s published E.max veneer thickness range is 0.5–1 mm.
Feldspathic Veneers
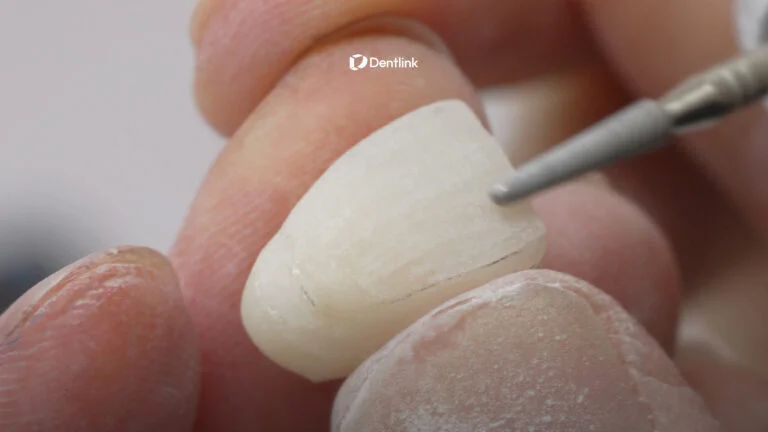
Feldspathic veneers are carefully layered by hand to develop the desired translucency, shade, and natural character.
In suitable cases, Dentlink’s feldspathic veneers can be fabricated as thin as 0.3 mm.
The material and preparation requirements are determined by the individual case.
Before shipment, each finished veneer is checked on its die and then on the master model.
The goal is clear: fabricate the veneers according to the design approved at the mock-up.
For a closer look at the craftsmanship behind natural-looking porcelain veneers, read:
What Makes Porcelain Veneers Look Natural? Inside the Lab →
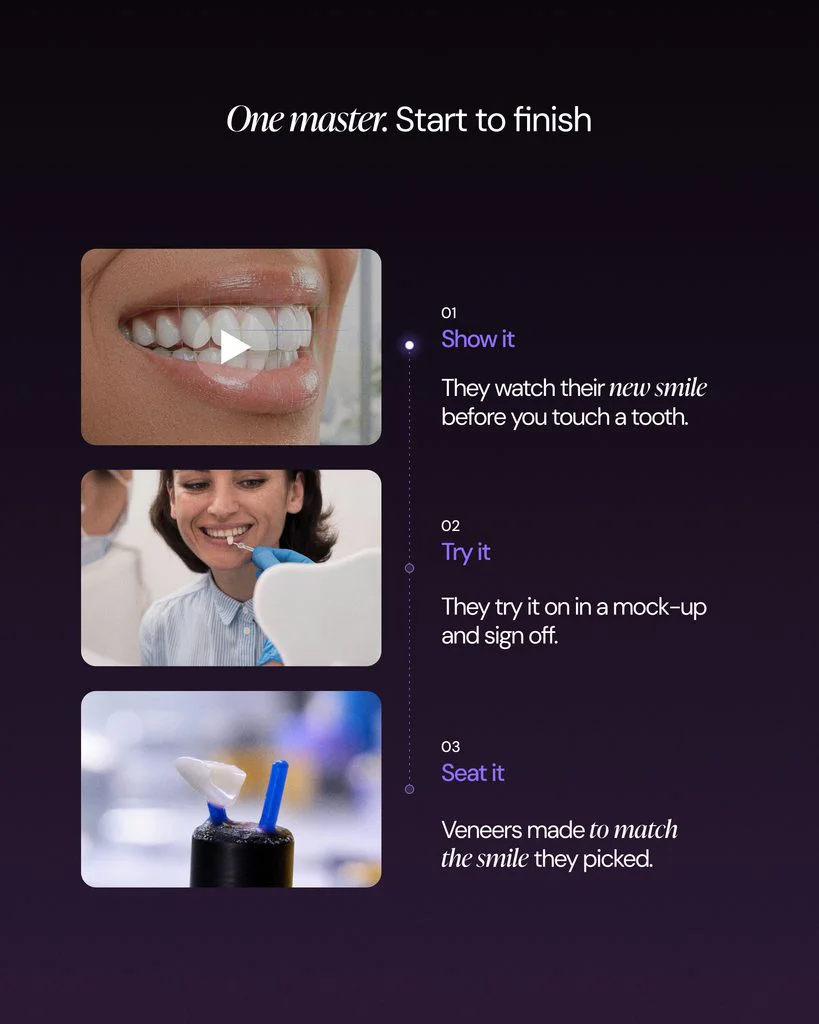
One Master. From the First Photo to the Final Seat.
For cosmetic cases, communication doesn’t end when the patient approves the design.
The dental lab still needs to understand what the dentist and patient are working toward.
With Dentlink, the process stays connected through one designated master.
| Step | What Happens |
|---|---|
| Show It | Patients watch their proposed smile in motion. |
| Try It | Patients evaluate and approve the design at the mock-up. |
| Seat It | The master fabricates veneers based on the approved design. |
The workflow connects the patient’s esthetic preferences with the laboratory’s fabrication process.
And Dentlink supports the case with:
- Free Smile Preview on every case
- E.max and feldspathic veneer options
- One designated master ceramist per case
- Turnaround in as little as 10 working days
- $0 remake under Dentlink’s published policy
From the initial smile photo to the finished restoration, each step has a clear purpose.
Your Next Veneer Case. Start Veneer Treatment Planning With the Smile.
A veneer case starts long before the final restoration reaches your chair.
It starts with understanding what your patient wants.
Let them see a proposed smile.
Let them try and approve the design.
Then let a dedicated master craft the veneers based on that plan.
Show It. Try It. Seat It.
With Dentlink, the Smile Preview is free on every case.
Show the smile first. Then craft it.
See the Complete Premium Veneer Workflow →
Made by Masters.
Ready to start your next veneer case?
Get Started with Dentlink →
Frequently asked questions
Can patients see their veneers before preparation?
Is Dentlink's Smile Preview free?
What happens after the patient approves the mock-up?
Does the same technician handle the veneer case?
What types of veneers does Dentlink offer?
Your first crown is on us.
Free implant crown, free scanbody kit, and $200 off your next case. Just send your first scan.
Create your Dentlink account, register your clinic, add Dentlink as your lab in your scanner software, then send your case.