Digital Dental Lab Workflow: From Scan to Finished Crown
Technology captures the details. Craftsmanship completes the restoration.
A digital dental lab uses technology to turn intraoral scans into dental restorations. But the journey from a digital impression to a finished crown involves more than scanning, CAD software, and milling machines.
It also requires the experience and judgment of a skilled dental lab technician.
For dentists, understanding what happens after sending a scan can help them evaluate the laboratory behind their restorations.
So, what does a digital dental lab actually do with your scan?
How Does a Digital Dental Lab Turn a Scan Into a Crown?
A digital dental lab transforms intraoral scan data into a finished restoration through several stages: scan review, CAD design, CAD/CAM fabrication, hands-on finishing, and quality inspection.
Each stage serves a different purpose.
Digital technology provides the data and tools needed to design and manufacture a restoration. Dental technicians interpret case requirements, evaluate design details, and apply finishing techniques appropriate to the material and clinical prescription.
The scan captures the information. The technician helps turn that information into a restoration ready for clinical evaluation.
Here’s how the process works.
Step 1: Intraoral Scan Review and Case Planning
Every digital dental workflow begins with clinical information.
When a dentist sends an intraoral scan to a dental lab, the technician needs to evaluate the submitted data alongside the prescription.
This typically includes reviewing:
- Preparation margins
- Adjacent and opposing teeth
- Occlusal relationships
- Restoration material
- Shade information
- Additional clinical instructions
An intraoral scanner records the digital impression, but the resulting data still needs to be assessed in the context of the prescribed restoration.
If a margin is unclear or important information is missing, the technician may need to clarify the case requirements with the dentist before proceeding.
At Dentlink, each case is matched with a dedicated Case Master who reviews the case information and can communicate directly with the dentist through linkTalk.
This is an important part of the workflow: decisions about the restoration begin before the material reaches the milling machine.
For more on scan quality and laboratory review, read Intraoral Scanner Data: Why Lab Expertise Still Matters.
Step 2: CAD Design in a Digital Dental Lab
Once the scan has been reviewed, the next stage is computer-aided design.
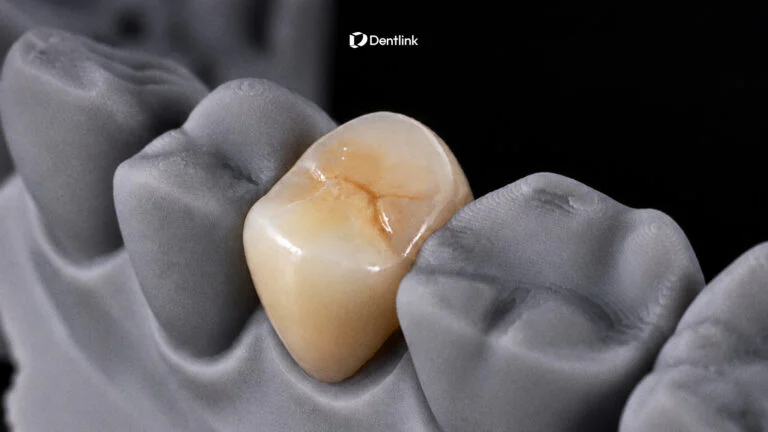
CAD software allows dental technicians to create a three-dimensional restoration based on the digital impression.
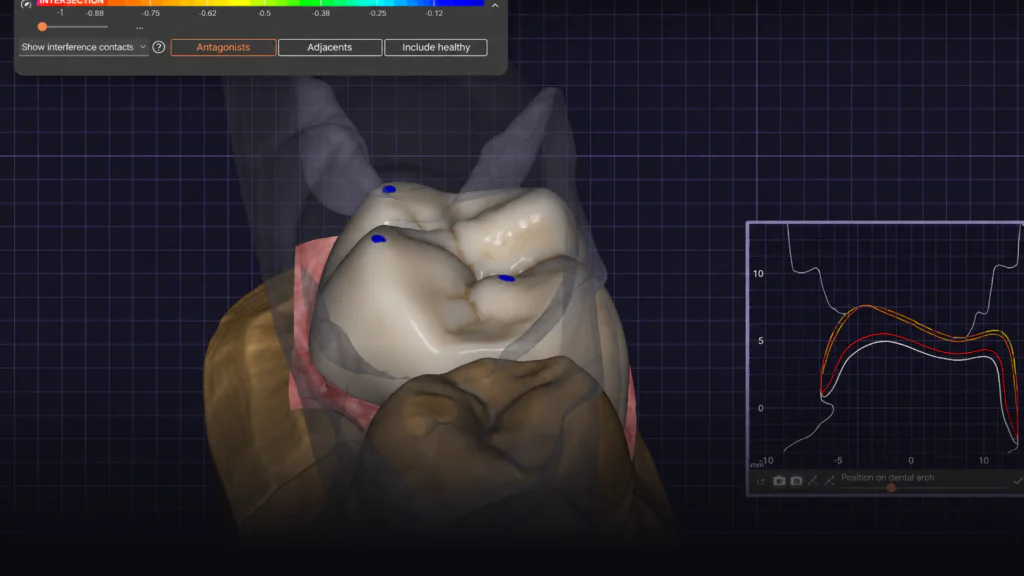
What Does a Dental Technician Evaluate During CAD Design?
For a single crown, important considerations include:
- Margin adaptation
- Proximal contacts
- Occlusal anatomy
- Crown contours
- Material thickness and design requirements
While digital tools support precise measurements and design adjustments, the technician still needs to consider how these elements work together.
For example, crown contours must be evaluated in relation to adjacent teeth, while occlusal anatomy needs to account for the opposing dentition.
These decisions help translate digital information into a restoration designed for the individual case.
This is where CAD/CAM dentistry and professional judgment work together.
Step 3: CAD/CAM Dental Crown Fabrication
After the digital design is finalized, the restoration moves into fabrication.
In a digital dental lab, CAD/CAM technology connects the approved design with the manufacturing process.
For a milled crown, CAM software uses the design information to guide the milling equipment.
The subsequent production stages depend on the prescribed material.
For example:
- Monolithic zirconia: Milling, sintering, and appropriate surface finishing
- Layered ceramic restorations: Fabrication of the supporting structure followed by ceramic layering and firing
- Glass-ceramic restorations: Material-specific machining, processing, and finishing
Each material has different fabrication requirements.
Digital manufacturing provides a controlled method of producing the restoration’s designed form. However, the crown may still require additional finishing before it is ready for delivery.
That brings us to the next stage.
Step 4: Why Craftsmanship Matters in Dental Crown Finishing
A digitally fabricated crown is not necessarily a finished restoration.
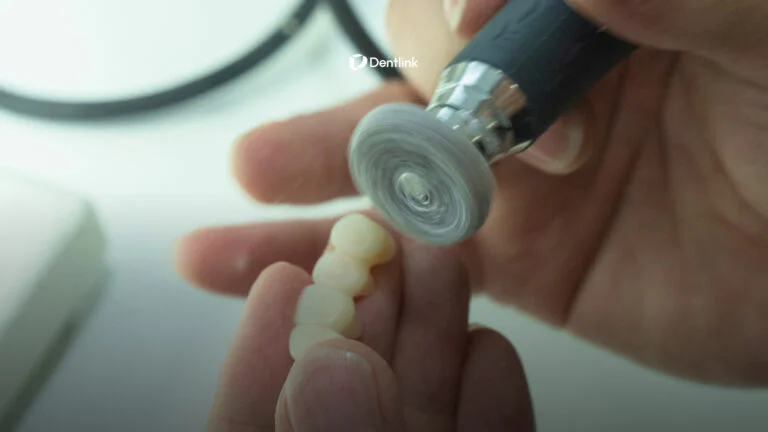
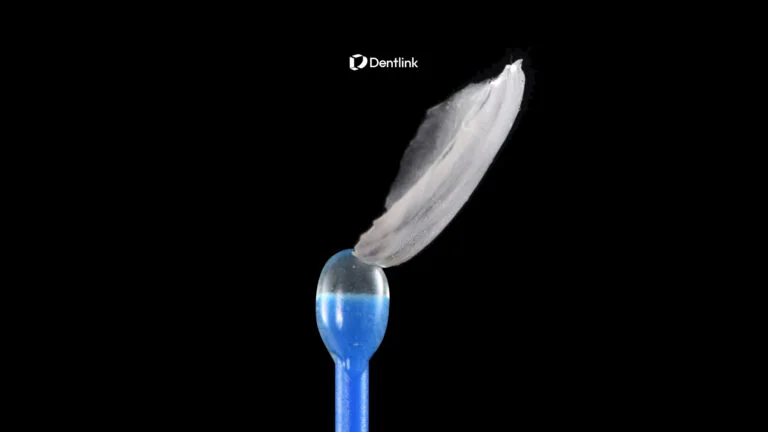
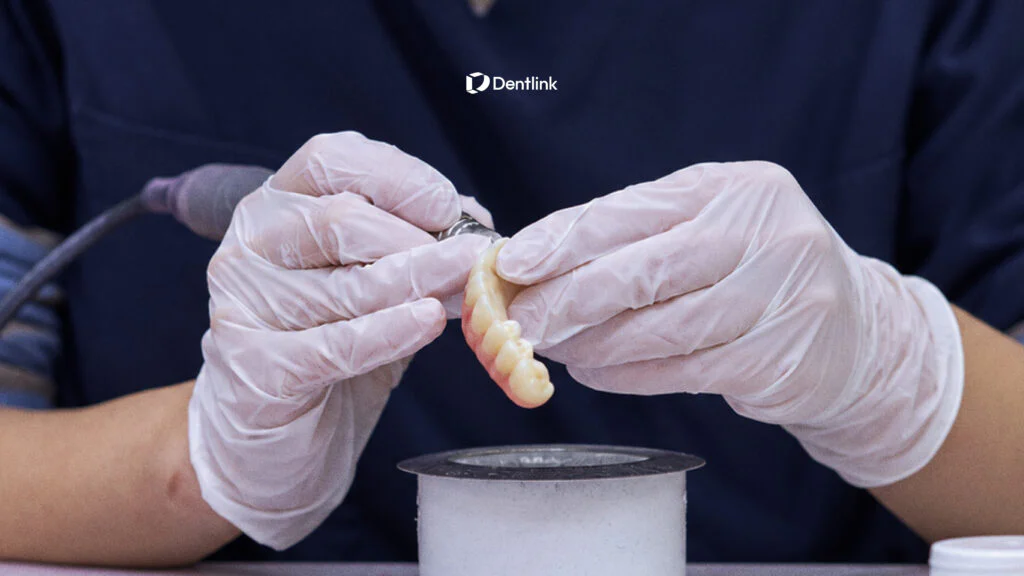
The final stages may involve surface refinement, polishing, staining, glazing, or ceramic layering, depending on the case and material.
This is where the skills of an experienced dental lab technician become particularly visible.
What Does a Dental Lab Technician Do After Milling?
A technician may evaluate and refine several characteristics of the restoration:
1. Surface anatomy
The crown’s contours and surface details are reviewed in relation to its intended function and neighboring teeth.
2. Surface texture and polishing
Finishing techniques are selected according to the restorative material and clinical requirements.
3. Shade and aesthetic details
For aesthetic restorations, staining, glazing, or porcelain layering may be used to develop the prescribed appearance.
4. Final restoration details
The technician examines the finished work and prepares it for quality inspection.
These steps require more than the ability to operate digital equipment.
They require knowledge of restorative materials, dental anatomy, and the finishing techniques appropriate to each case.
At Dentlink, dedicated Case Masters combine digital fabrication with hands-on craftsmanship throughout the restorative process.
Learn more about our single-crown fabrication options.
Step 5: Quality Control Before Dental Crown Delivery
Before a crown leaves the dental lab, it needs to be checked against the prescribed requirements.
For dentists, this is one of the most important stages of the digital dental workflow.
What Should a Dental Lab Check Before Shipping a Crown?
Key laboratory checkpoints include:
| Quality Check | What the Technician Evaluates |
|---|---|
| Margin fit | Adaptation of the restoration to the preparation |
| Proximal contacts | Relationship with adjacent teeth |
| Occlusion | Contact relationships with opposing dentition |
| Surface finishing | Material-appropriate finishing and polishing |
| Aesthetics | Shade and surface characteristics, when applicable |
At Dentlink, restorations are checked for margins, contacts, and occlusion before shipping.
These laboratory checks support the restorative workflow, although they do not replace the dentist’s final clinical assessment at delivery.
A digital dental lab should provide more than an efficient way to receive scan files. The quality-control process behind each restoration matters just as much.
What Makes Dentlink’s Digital Dental Lab Workflow Different?
Digital technology is now an established part of restorative dentistry.
For dentists choosing a dental lab, the more meaningful question is often not whether the lab uses CAD/CAM technology, but how that technology is supported by experienced technicians.
At Dentlink, three elements work together.
1. A Connected Digital Workflow
Dentists can submit cases through their existing intraoral scanners, without replacing their current scanning workflow.
See how to connect your intraoral scanner to Dentlink.
2. A Dedicated Case Master for Every Case
Each case is assigned to a designated technician who works through its fabrication requirements.
This provides a named point of responsibility for the restoration.
3. Direct Communication With the Technician
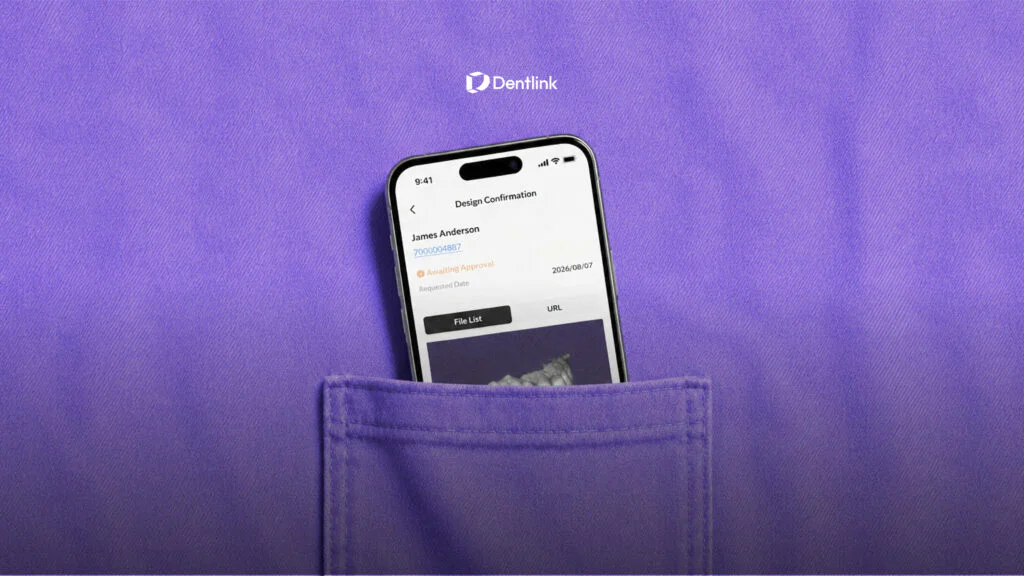
Through linkTalk, dentists can communicate with the Case Master working on their case.
Questions about case requirements, design details, or additional information can be discussed directly.
The result is a digital dental workflow that combines modern technology with dedicated technical expertise and communication.
How to Choose the Right Digital Dental Lab
If your practice already uses an intraoral scanner, connecting to another lab may be straightforward.
But choosing the right digital dental lab requires looking beyond scanner compatibility.
Before sending a case, consider asking:
- Who reviews my intraoral scan before fabrication?
- How are margins, contacts, and occlusion evaluated during CAD design?
- Does a designated technician oversee the case?
- Can I communicate directly with the technician?
- What quality-control steps are completed before shipping?
- How does the lab handle questions or adjustments?
These questions can help reveal how a laboratory manages the stages between the digital impression and the finished restoration.
For more guidance, read Dental Lab for Crowns: What Dentists Should Expect From the Fit.
Technology Captures It. Craftsmanship Completes It.
A digital scan is the beginning of a restoration—not the finished product.
From reviewing the impression and designing the crown to refining its final details, the digital dental lab plays an important role in the restorative process.
At Dentlink, advanced technology and skilled craftsmanship work together at every stage.
Because the technology used to make a restoration matters.
And so does the person behind it.
Ready to Experience Dentlink’s Digital Dental Lab?
See how our dedicated Case Masters bring digital precision and craftsmanship together.
Start with the scanner you already use, and send your first case to Dentlink.
Get your first case free. No card, no contract.
Frequently asked questions
What is a digital dental lab?
Does CAD/CAM technology replace dental lab technicians?
What happens after a dentist sends an intraoral scan?
Can I use my existing intraoral scanner with Dentlink?
Visit the Dentlink scanner connection guide for setup instructions. https://www.dentlink.io/scanners/
Your first crown is on us.
Free implant crown, free scanbody kit, and $200 off your next case. Just send your first scan.
Create your Dentlink account, register your clinic, add Dentlink as your lab in your scanner software, then send your case.